Iframe/Hosted PIN Management Integration
This guide describes step by step how to use Berkeley inline iframe for PIN management integration – when you have to embed an independently hosted HTML document inside of another one.
The main benefit which the usage of this form brings to you is the reduction of your PCI scope by separating your application from your user’s sensitive data.
IFrame
An iframe, also known as an inline frame, is used to embed an independently hosted HTML document (child) inside of another HTML document (parent). Thus the child is isolated from the parent and provides a layer of separation between the two.
Using our hosted iframe forms helps to reduce your PCI scope by separating your application from your user’s sensitive data.
You will need to use JavaScript in order to receive messages sent from the iframe which may contain successful returned data or, to allow for responsiveness in your iframe, the current height of the embedded form.
NOTE: Before you’re able to use our iframes, you will need to be configured to use this feature. You will need to provide us with the referer url from which you will be sending requests to embed the iframe. You may provide us with more than one. JavaScript provides an easy way to access this information through document.referrer on the browser page you’ll be embedding the form if you’re unsure.
Step 1:
To begin, add the iframe HTML element to your page. There are many attributes provided by the iframe element which can be found here.
<iframe id="myiframe" frameborder="0" allowfullscreen />
Step 2:
Add an event listener to the parent window. This event listener will be listening for messages sent from the child.
window.addEventListener("message", (e) => {
      const {data} = e
      // retrieve the iframe element from the parent document
      var iframe = document.getElementById("myiframe")

      if (data.loading) {
        // we pass loading state back in every call
        // will be either true or false
      }

      if (data.error) {
        // if an error key is found in the data object it means an error has occured either
        // due to invalid fields or a network issue
      }

      // if the data object contains the height key, this means that the embedded form's height
      // has initialized or has changed.
      if (data.height) {
        iframe.height = data.height;
      }

      //do work to consume the data contained in the data object
    })
Step 3:
You will need to make an initial call to retrieve a temporary token. This temporary token will be used to render the form and to validate for submission.
fetch(`${domain}/api/v1/card_issuing/accounts/:id/set_pin/temp_token`, {
  headers: {
    Accept: "application/json",
    "Content-Type": "application/json",
    Authorization: `Bearer ${private_token}`,
    Referer: // `AFTER THE URL IS PROVIDED TO BERKELEY`
  },
  method: "POST"
  body: JSON.stringify({
    account_id: //cardholder account ID attached to card's pin they wish to change
    last_four_digits: //last four digits of the card
  })
})
NOTE: This temporary token is only valid for three minutes. After that, form submission cannot take place and you will receive an error, displayed on the form, stating that your session has expired. The temporary token is a one-time use token and is invalidated once the form is submitted and a success has been sent back or an error at the processor level has occurred.
Step 4:
With the retrieved temporary token, you can now add to your iframe the src attribute using the base url and a query string containing parameters for your form. Below are the parameters you can pass in the url query string:
| Variable | Required | Details |
| t | Yes | Temporary token |
| form_type | Yes | The form which you wish to render. Can be one of: set_pin |
| form_title | No | Adds a title to the form |
Example: https://{{domain}}/iframe/v1/forms?t=jvLQgHiVTA1UMsJ4WKhpG5BzCdyxYn&form_type=set_pin
Step 5:

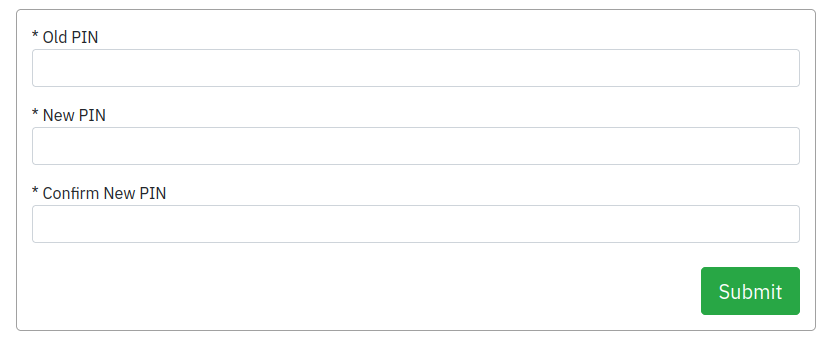
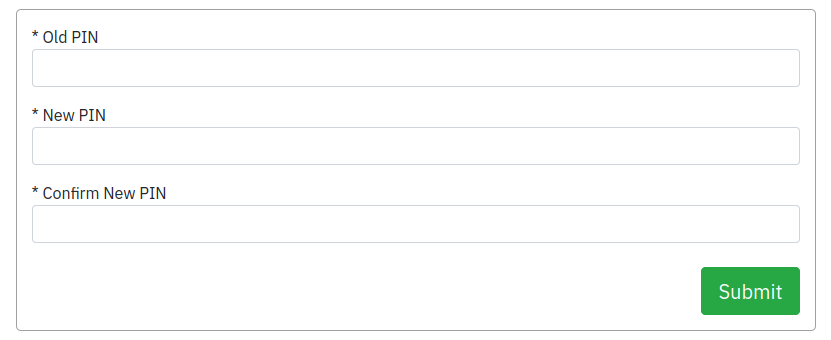
With the form now rendered on your page, the user has under three minutes to enter their information into the form and submit it. They user will enter their information in the form and press submit.
Upon submission, we verify the data and if it is valid. If not, errors will display on the form to inform the user that there was an issue with their information or with submitting their form.
If a submission is successful, we return a data object and the flow is complete.
data = {loading: false, data: {}}
If there is an error we will return the error in the following format - similar to our API structure:
error = {loading: false, error: {code: "error_code", message: "Readable error message"}}
Hosted Page
Using our hosted page forms helps to reduce your PCI scope by separating your application from your user’s sensitive data.
NOTE: Before you’re able to use our hosted page, you will need to be configured to use this feature. You will need to provide us with the referrer url from which you will be sending requests and a callback url where the page will redirect to after the pin change flow is complete. You may provide us with more than one of each. JavaScript provides an easy way to access this information through document.referrer on the browser page you’ll be embedding the form if you’re unsure.
Step 1:
You will need to make an initial call to retrieve a temporary token. This temporary token will be used to render the form and to validate for submission.
fetch(`${domain}/iframe/v1/temp_token`, {
        headers: {
          Accept: "application/json",
          "Content-Type": "application/json",
          Authorization: `Bearer ${private_token}`
        },
        method: "POST"
        body: JSON.stringify({
          account_id: //cardholder account ID attached to card's pin they wish to change
          last_four_digits: //last four digits of the card
        })
      })
NOTE: This temporary token is only valid for three minutes. After that, form submission cannot take place and you will receive an error, displayed on the form, stating that your session has expired. The temporary token is a one-time use token and is invalidated once the form is submitted and a success has been sent back or an error at the processor level has occurred.
Step 2:
With the retrieved temporary token, you can now redirect the parameters you can pass in the url query string:
| Variable | Required | Details |
| t | Yes | Temporary token |
| form_type | Yes | The form which you wish to render. Can be one of: set_pin |
| form_title | No | Adds a title to the form |
| callback_url | Yes | The URL the client will be redirected to after the set pin workflow is complete. |
Example: https://{{domain}}/hosted/v1/forms?t=jvLQgHiVTA1UMsJ4WKhpG5BzCdyxYn&form_type=set_pin&callback_url=http://yourdomain.com/pin/result
Step 3:

With the form now rendered on your page, the user has under three minutes to enter their information into the form and submit it. They user will enter their information in the form and press submit.
Upon submission, we verify the data and if it is valid. If not, errors will display on the form to inform the user that there was an issue with their information or with submitting their form.
If a submission is successful, we will redirect the browser to the following:
{callback_url}?code=success
If there is an error we will redirect to the callback page with the following query parameters:
{callback_url}?code=error_message
Related pages:
PIN Management USA
Iframe Integration
Iframe Sensitive Card Details
Updated almost 2 years ago